Surveillance is an most important aspect in all over the places. Say (Banks, Jewelry shops, etc..). Now a days even a small hotels and bakery were using surveillance system to protect their properties.
There are two types of surveillance system were available. They are,


There are two types of surveillance system were available. They are,
- Passive surveillance system
- Active surveillance system
Hardware required...
- Any controller board (Arduino is recommended)
- Pyroelectric Infrared Sensor (PIR) ("HC SR-501")
- Servo motor (minimum torque 1.4Kg/m2.)
- 16x2 LCD module
- Light Emitting Diode (LED)
- Hookups
- Protoboard
Software required..
- Arduino IDE (If Arduino is used) Download Here
About Hardware..
Controller board.
Arduino is the one of the most leading controller board platform which provides the Learning environment for the Electronics Hobbyists and the students. There are lots of versions of Arduino board are available. But the common and the most Economical board is Arduino UNO r3.
It also provide a Integrated Development Environment to develop our own code and implement it.
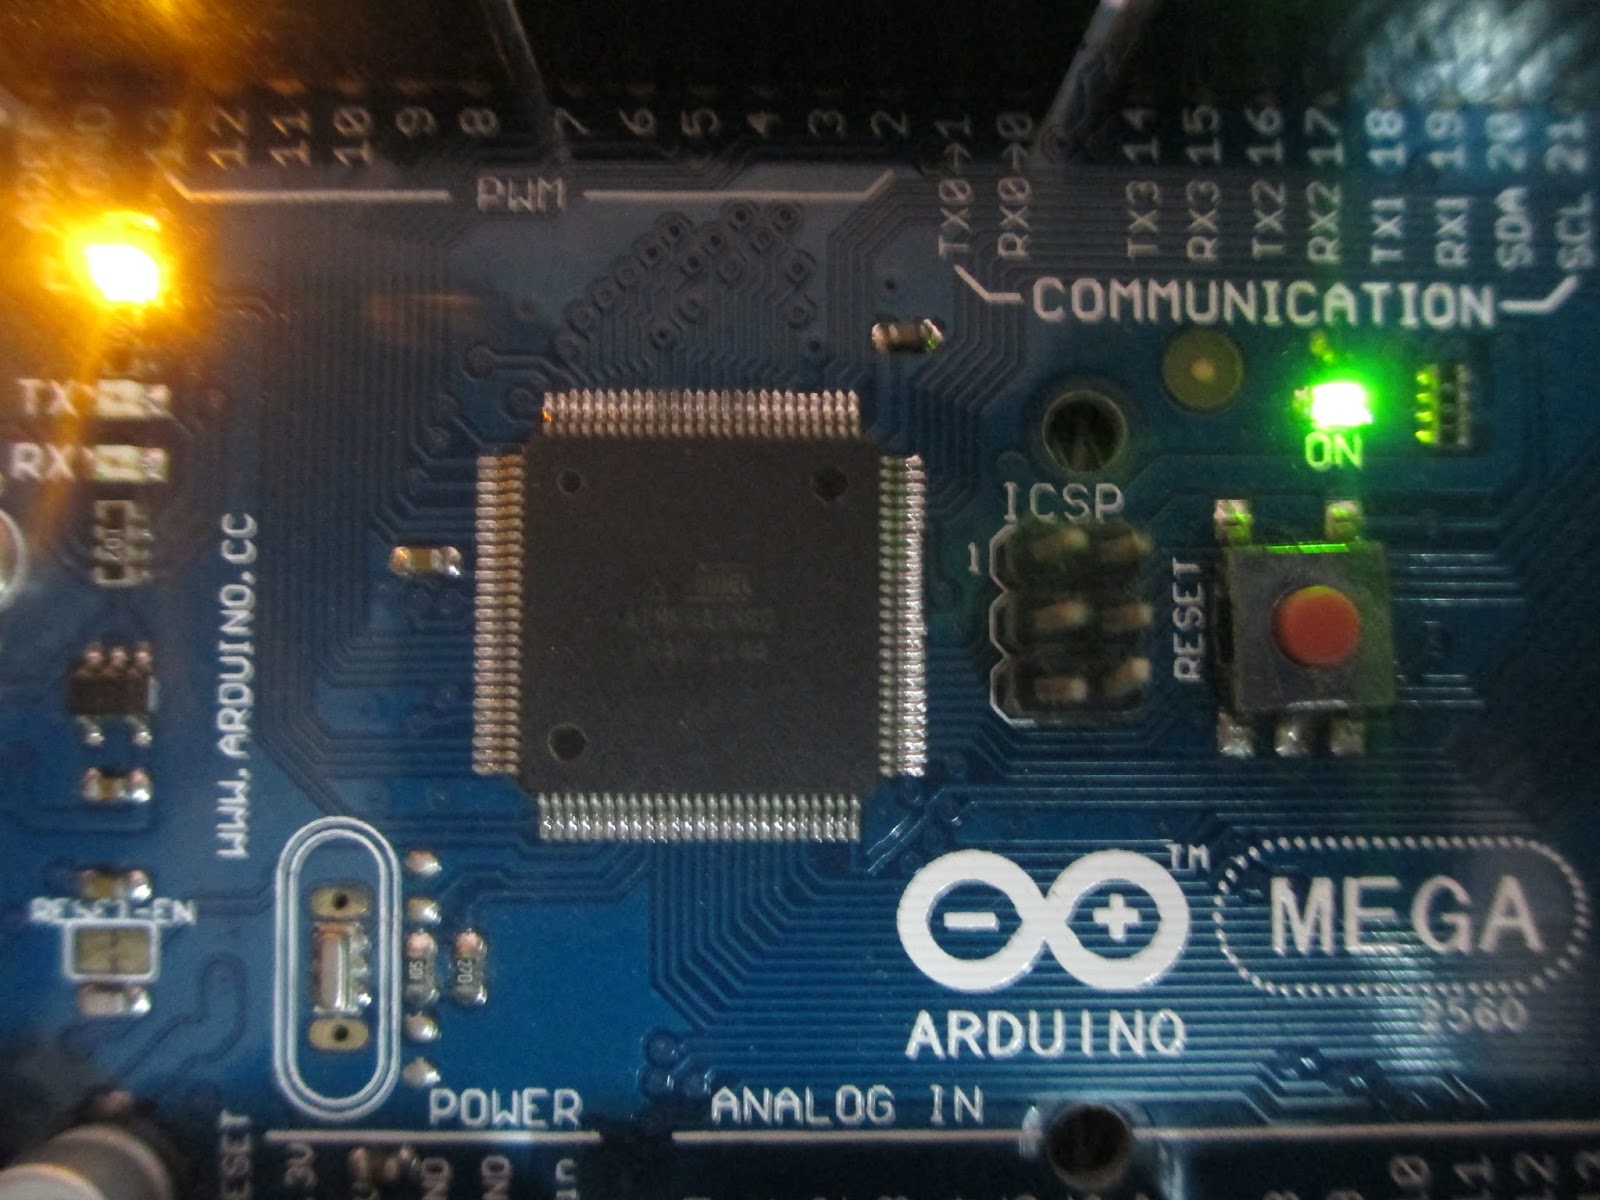
AT MEGA 2560
Pyroelectric Infrared Sensor
PIR sensors allow you to sense motion, almost always used to detect whether a human has
moved in or out of the sensors range. They are small, inexpensive, low-power, easy to use and
don't wear out.
For that reason they are commonly found in appliances and gadgets used in
homes or businesses. They are often referred to as PIR, "Passive Infrared", "Pyroelectric", or "IR
motion" sensor.
Since its around 100 INR any people can afford it. And it could be implemented any where the user wanted.

PIR Sensor
Servo motor
There are two types of Servo motors are naturally available. AC servo motor and DC Servo motor. For all electronic and embedded applications DC servo motor is used. Because the AC cannot be stored in the batteries.
A servo motor is as similar as normal DC motor but it additionally contains a feedback element and the electronics circuit. Feedback element sense the position of the shaft and it allows to move in particular manner.
The PWM waves are implemented to drive the servo motor. It contains 3 Pins. Vcc, GND and Pulse. Its normally works on (5-12)V.

Micro Servo
LC Display
Liquid Crystal Display is the most commonly used in Electronics projects. Because it have a characteristic to print all possible characters including numerical digits and the special characters too.
Additionally it can't require any breakout board or drive. Its all embedded into it. So its easy to use. Here I have used 16x2 LC Display module.

LCD Module
Light Emitting Diode
The most common and the growing up electronic component of the 21st Century is LED. When you turn around you can see a LED. It have a unique character, that its capable of working on both AC and DC.
Its cheap, Light weight, portable and capable of easily replaceable. So it came into picture now. And its a good indicator. Here we used LED for the Indication purpose.

Blue LED
Hookups and Protoboards
They are normally a prototype building components which are used for the interconnection of the External Peripherals.

Hookups & Protoboard
Let's move to Construction
With the help of the double sided tape just stick your servo and the PIR together as shown below. Make sure that the shaft of the motor rotates without any external disturbances.

Stuck together
After done it. Do the circuit connections as shown in the following fig. Connect the circuit carefully to avoid the detection Errors.

Schematic
After connecting the circuit. Your prototype will be like as shown. I hope so..

Complete prototype
Now its time to Rock and Roll.. Just a single little work is have to done. Open your Arduino IDE and copy paste the code there.. After done it. Directly upload to it to your board.

Arduino IDE
Take a look @ this.. Its pretty good.

Working Prototype.
In this moment I want to thank you my friend (Bulky) who motivated to do this kind of work. And most importantly I have to show my special thank to my dear friend (Singer) who provided the Camera. Hope you people enjoyed.
Thank you for your Time
Don't forget to raise you Thumb's up
Feel free to contact me @ abu786sagar@gmail.com


